
Hong Kong egg waffles
Contains egg (no meat or fish)
雞蛋仔 · gai daan zai
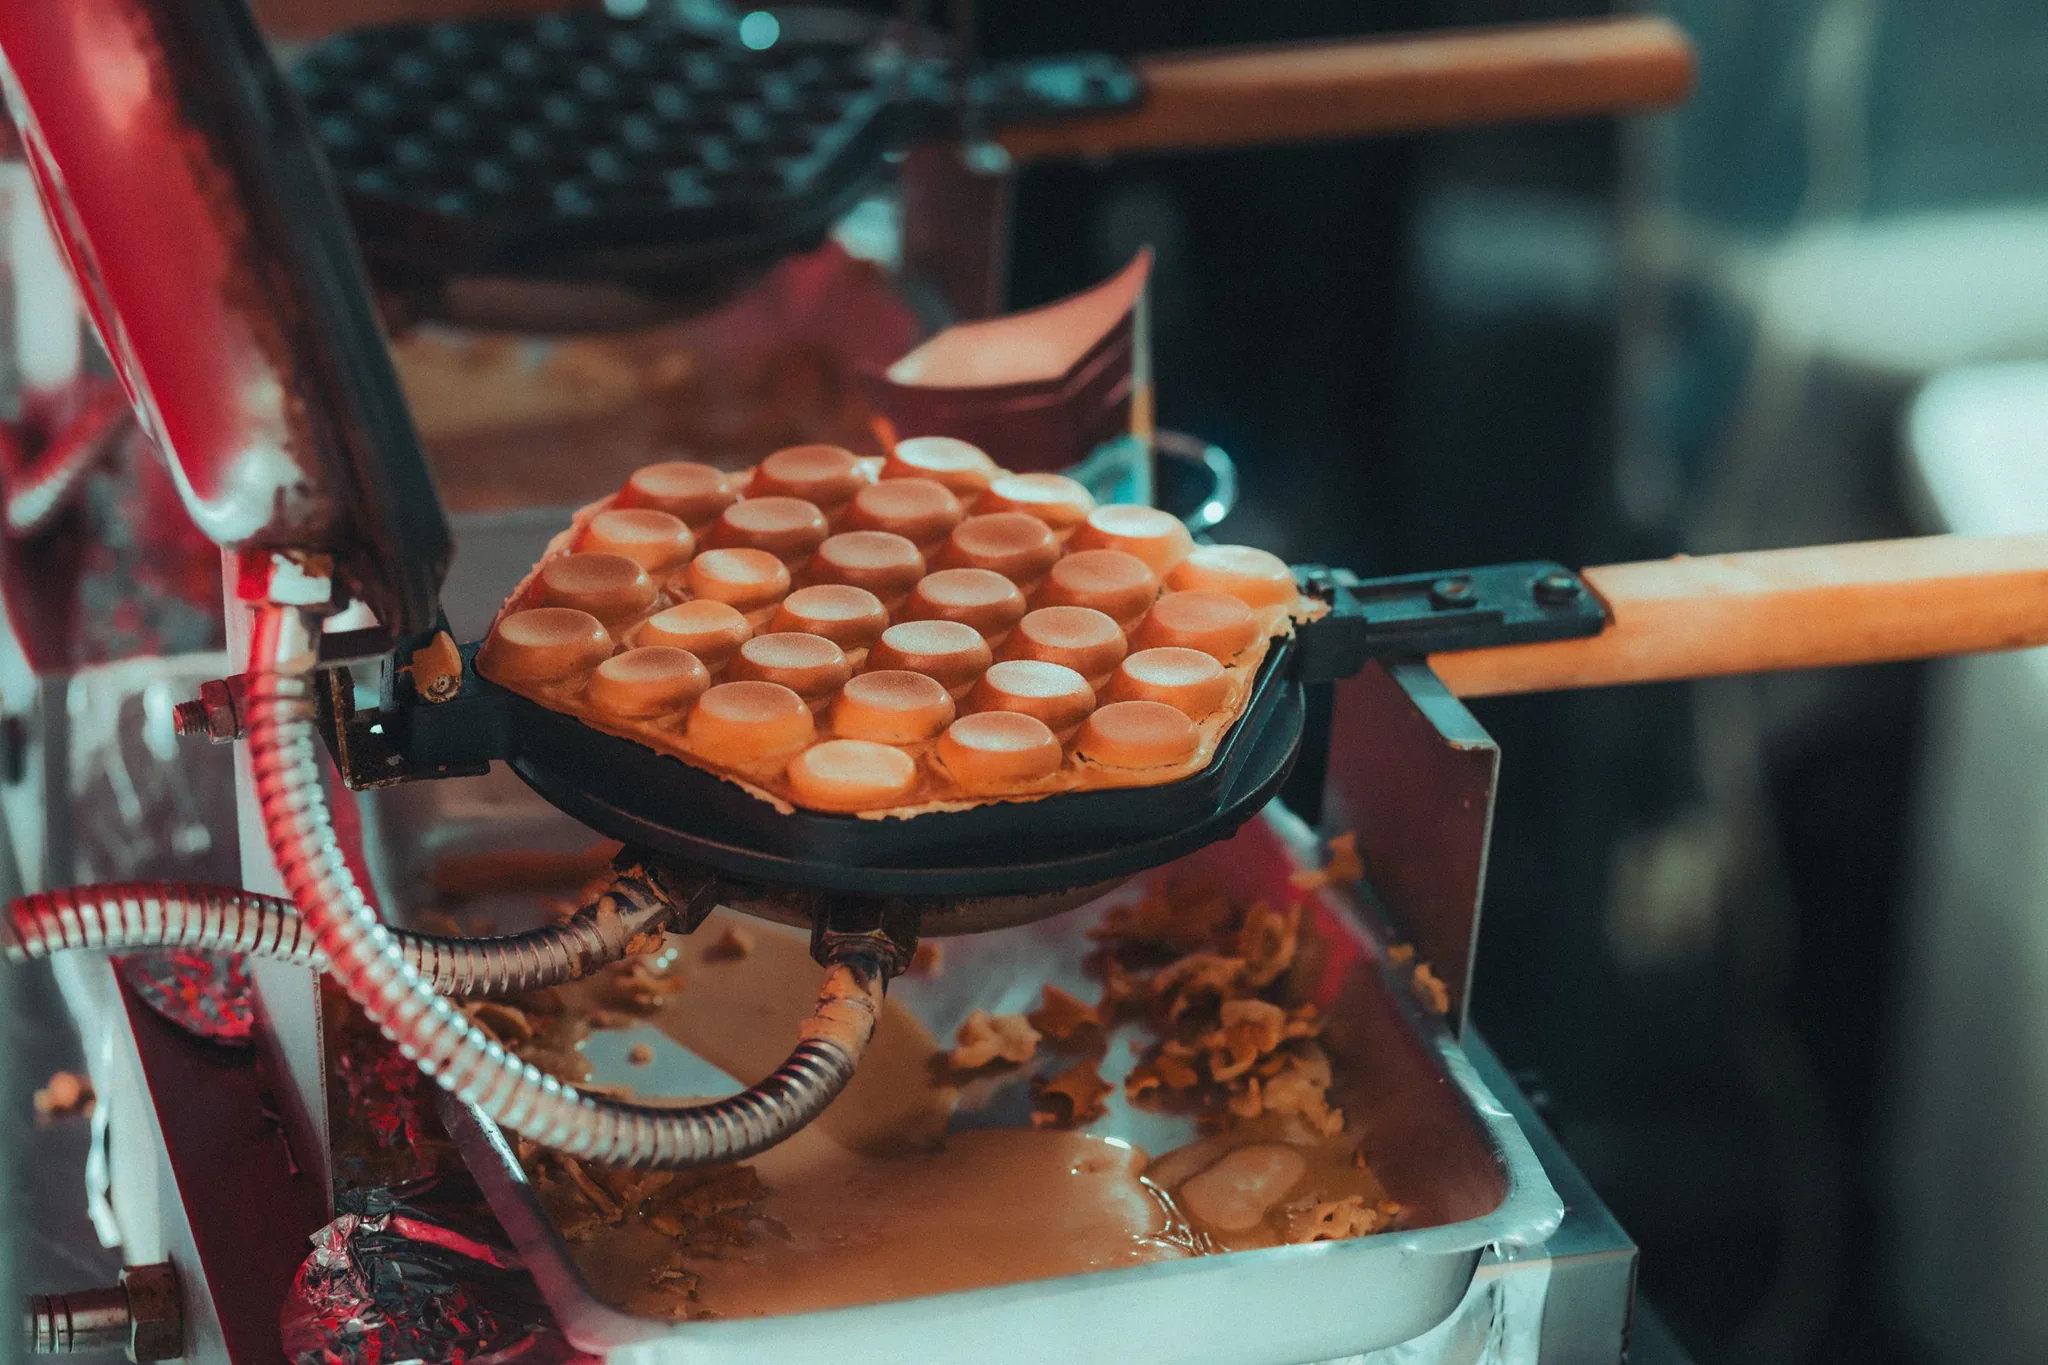
A sheet of golden, bubble-shaped puffs that are crisp outside and soft and eggy within, cooked in a special pan. Hong Kong's iconic street snack, eaten warm from a paper bag.
Hong Kong egg waffles is a Hong Kong street food, ready in about 55 minutes and made with all-purpose flour and egg. It serves 3 and is rated intermediate to cook.
- Prep
- 10 min
- Cook
- 15 min
- Rest
- 30 min
- Total
- 55 min
- Serves
- 3
- Level
- Intermediate
- Calories
- 450
Method
Step 1
Whisk (opens in a new tab) the flour, starch, baking powder (opens in a new tab) and sugar (opens in a new tab). Whisk in the eggs (opens in a new tab), evaporated milk (opens in a new tab), water, oil and vanilla (opens in a new tab) until smooth. Rest 30 minutes.
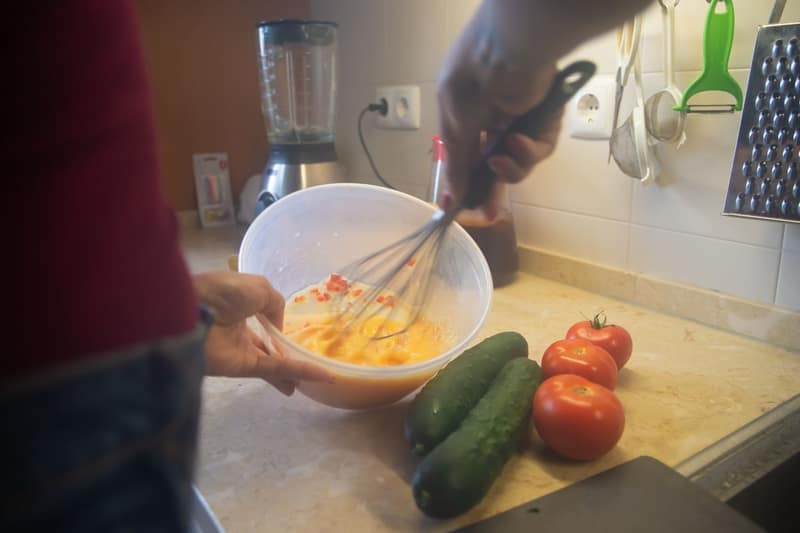
How it looks · Photo: Kampus Production on Pexels Step 2
Heat an egg waffle pan (opens in a new tab) on both sides over medium heat and brush well with oil.
- 3 min
- medium heat
- Egg waffle pan (opens in a new tab)
A special egg waffle pan (or electric bubble waffle maker) is needed for the shape.
Step 3
Pour batter into one side to fill the cells, close, and immediately flip the pan. Cook 2 minutes, flip back and cook 2–3 minutes more until golden.
- 5 min
- medium heat
Step 4
Turn the waffle out onto a rack and cool for a minute so the outside crisps. Eat warm.
- 1 min
About this dish
- Origin
- Hong Kong · Well documentedMore food from Hong Kong
- Dish
- Snack · Street food · Sweets & confectionery
- Cooking method
- Pan-fried
- Taste
- sweet, mild, buttery
- Diet
- Vegetarian (lacto-ovo) · No nut ingredientsWorked out from the ingredients. How labels work
All labels
Vegetarian (lacto-ovo) · Eggetarian · Pescatarian · Flexitarian-friendly · No nut ingredients · Pork-free · Beef-free · DASH-style - Good for
- Street food · Child-friendly
- Cook more with
- All-purpose flour · Egg · Tapioca starch · Baking powder · Sugar · Evaporated milk
- Techniques
- Pan-frying
Allergens
- Contains: Milkfrom evaporated milk
- Contains: Eggsfrom egg
- Contains: Wheatfrom all-purpose flour, baking powder
- Contains: Glutenfrom all-purpose flour, baking powder
Based on typical versions of these ingredients and not verified allergen-free. Brands differ and cross-contact happens, so always check labels. For severe allergies, follow your clinician’s advice.
Nutrition
450 kcal per serving
Estimated1 serving ≈ 179 g · recipe makes 3
Where the energy comes from
- Protein 10%
- Carbohydrate 58%
- Fat 32%
| Nutrient | Per serving | Per 100 g* |
|---|---|---|
| Energy | 450 kcal | 252 kcal |
| Protein | 11.2 g | 6.3 g |
| Carbohydrate | 65.1 g | 36.4 g |
| Net carbohydrate | 64 g | 35.8 g |
| Sugars | 28.2 g | 15.8 g |
| Added sugars | 23.3 g | 13 g |
| Fibre | 1.1 g | 0.6 g |
| Fat | 15.9 g | 8.9 g |
| Saturated fat | 3.7 g | 2.1 g |
| Trans fat | — | — |
| Cholesterol | 136 mg | 76 mg |
| Sodium | 329 mg | 184 mg |
| Salt equivalent | 0.8 g | 0.5 g |
Vitamins & minerals per serving
- Potassium
- 222 mg
- Calcium
- 270 mg
- Iron
- 2.9 mg
- Magnesium
- 24 mg
- Vitamin A (RAE)
- 81 µg
- Vitamin C
- 1 mg
- Vitamin D
- 1.5 µg
- Vitamin B12
- 0.4 µg
- Folate (DFE)
- 136 µg
How these numbers were made
- Calculated from USDA FoodData Central (SR Legacy) per-100 g values and the listed quantities.
- *Per 100 g of combined raw ingredients; the cooked dish may weigh more or less.
- Tapioca starch: Dry pearl tapioca (FDC 169717) used as a stand-in; both are almost pure cassava starch.
- “—” means the value isn’t known for enough of the ingredients; it is never zero by default.
- Values are estimates for guidance, not for medical dosing. U.S. Department of Agriculture, Agricultural Research Service. FoodData Central, 2019. fdc.nal.usda.gov.
Good to know
Tips
- Resting the batter gives a lighter, more evenly bubbled waffle.
- Cool the waffle on a rack, not a plate, so the shell stays crisp.
Common mistakes
- Stacking hot waffles — they steam and lose their crispness.
Storage
- Best eaten within 10 minutes. Re-crisp leftovers in a hot oven for 2–3 minutes.
Original editorial recipe · FriendsPantry editorial · Not yet independently reviewed · Added · Updated
Recipe DNA
How this dish is built
Grouped by each ingredient’s role in the dish. Each band’s width is its share of the dish by weight. Choose a component to see what it does.
What the dish is built around
Main ingredient
- All-purpose flour120 g
- Egg2 piece · 100 g
- Evaporated milk120 ml · 128 g
Baker’s notes
Customise in Bread & BakeryTimeline and readiness cues
Mix and knead · about 10 min
Mix only until no dry flour remains — overmixing makes it tough and tunnelled.
Rest · about 30 min
Covered so it doesn't dry out; relaxed dough rolls and shapes without springing back.
Bake · about 15 min
Risen and golden; a skewer in the centre comes out clean or with a few moist crumbs; the top springs back.
- Start to finish: about 55 min. Times are a guide — warmth changes everything; follow the cues.
If something goes wrong
Gummy or wet crumb
Likely causes
- Under-baked
- Sliced while hot
- Hydration too high for the flour
What to do
- Bake to 93–96 °C inside (cakes: clean skewer)
- Cool completely on a rack before slicing
- Reduce water by 3–5% or use a stronger flour
Collapsed or sunken middle
Likely causes
- Oven door opened too early
- Too much leavening or sugar
- Under-baked centre
- Over-proofed yeast dough
What to do
- Don't open the oven for the first two-thirds of baking
- Measure leaveners exactly with spoons, levelled
- Test the centre before removing
- Proof less
Pale crust
Likely causes
- Oven too cool
- Too little sugar or no milk/egg for browning
- Over-fermented (yeast ate the sugars)
What to do
- Check the oven with a thermometer
- Brush with egg wash or milk
- Shorten the fermentation
Burnt bottom
Likely causes
- Tray too close to the heat
- Dark tray absorbs more heat
- Too much sugar in the dough
What to do
- Bake on the middle shelf
- Double up trays or use a light-coloured one
- Lower the temperature 10–15 °C and bake a little longer
Cracked or domed top
Likely causes
- Oven too hot (crust sets before the centre rises)
- Too much leavening
- Overmixed batter
What to do
- Lower the oven 10–15 °C
- Use the exact leavening amount
- Fold just until combined
Big holes or tunnels
Likely causes
- Overmixed batter (cakes, muffins)
- Air trapped while shaping bread
- Uneven proof
What to do
- Mix quick breads only until no dry flour shows
- Degas gently and shape tightly
- Proof covered in an even, warm place
Dry or crumbly
Likely causes
- Too much flour (scooped, not weighed)
- Over-baked
- Too little fat or sugar
What to do
- Weigh flour, or spoon it into the cup and level
- Check 5 minutes early
- Don't cut fat or sugar by more than a quarter without another moisture source
Reviews & corrections
Reviews come from signed-in cooks and appear after a moderator checks them. We never show made-up ratings.
You might also like
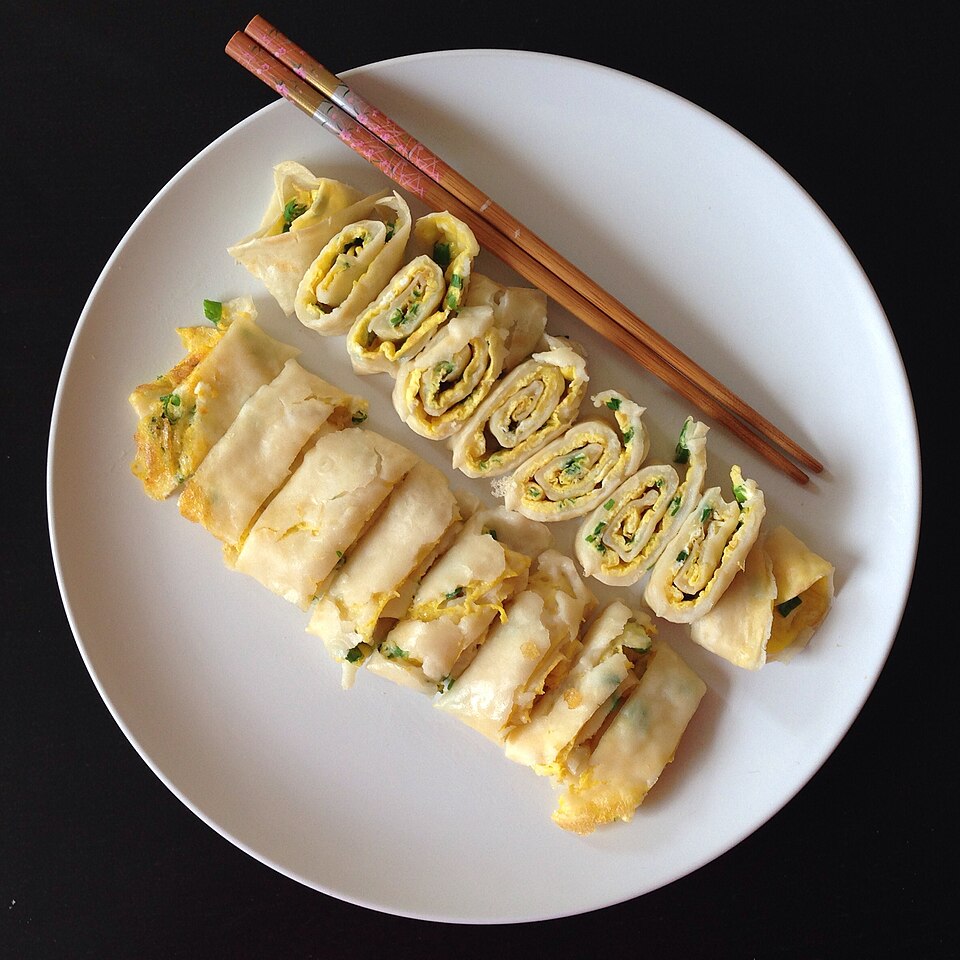
Dan bing (Taiwanese egg crepe)
 Taiwanese · 15 min · 265 kcal · Contains egg
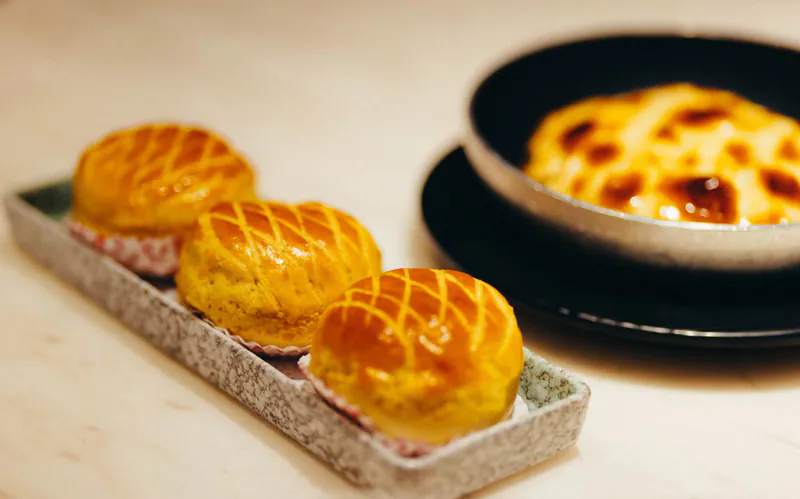
Pineapple bun (bo lo bao)
 Hong Kong · 2 h 36 min · 346 kcal · Contains egg
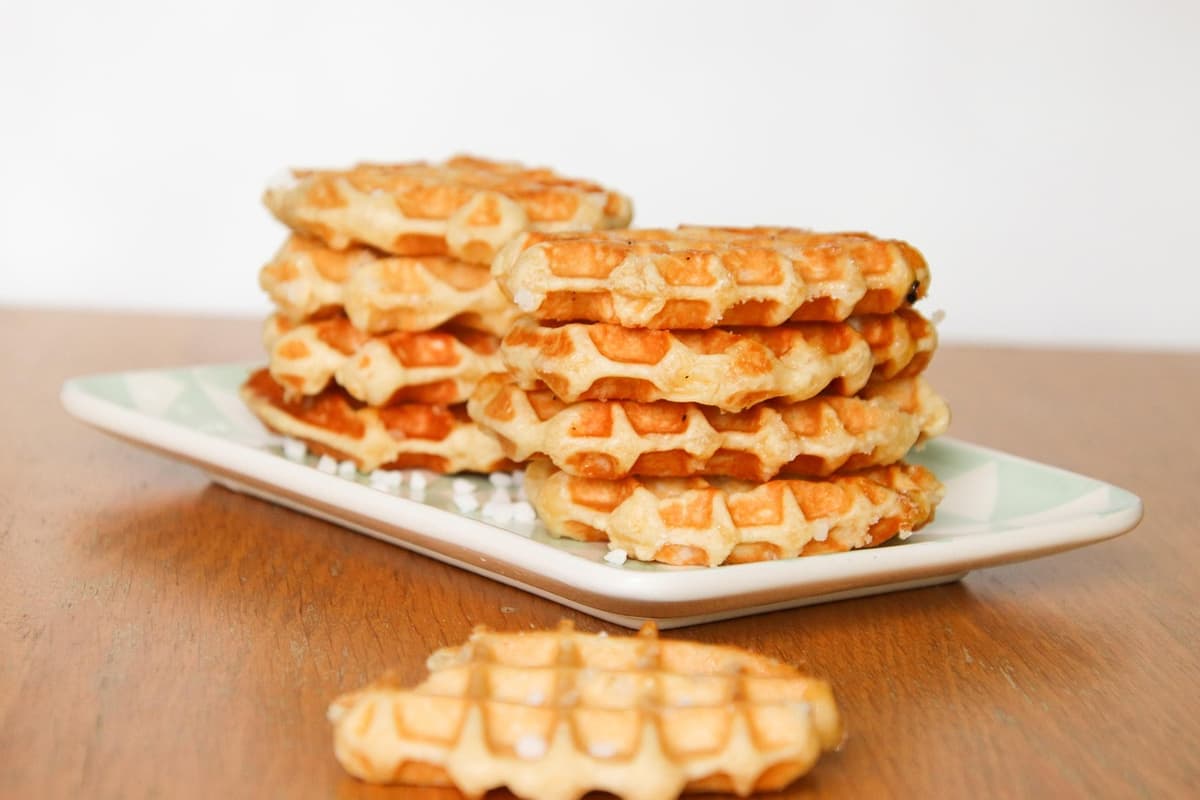
Liège waffles
 Belgian · 2 h 25 min · 335 kcal · Contains egg
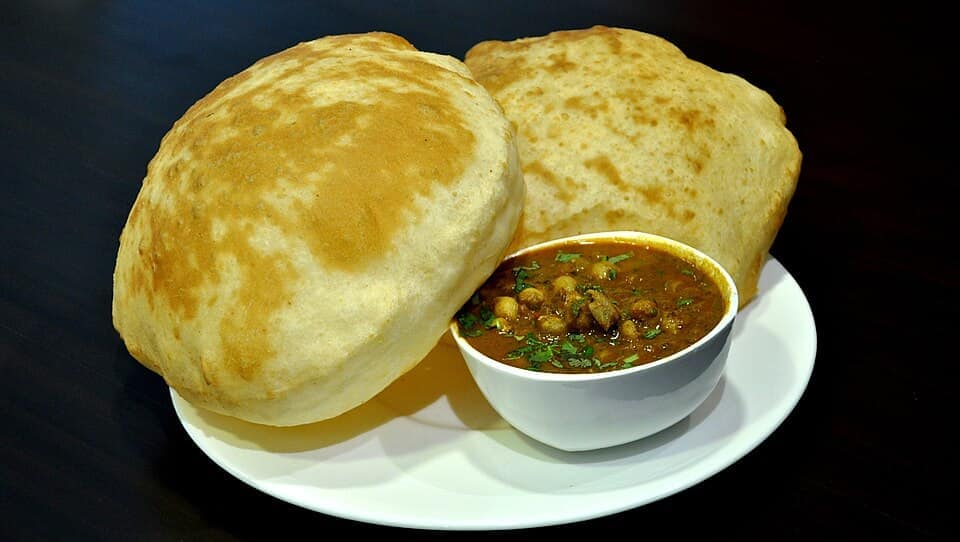
Chole bhature
 Punjabi · 3 h 35 min · 727 kcal · Vegetarian